jParallax
Download
- jquery.jparallax.js [11k] 0.9.9 BETA
- jquery.jparallax.js [13k] 0.9.1 BETA
jParallax has had a major overhaul in readiness to be released as version 1.0! Layers are now freezable – the last feature I wanted to implement – and the code is more j and compact. I've been really encouraged by all the great comments, so thank you everyone! I just need you to road test the demos and tell me that it's still working in your browser, and then I'll stick a 1.0 on it.
Cheers!
What does jParallax do?
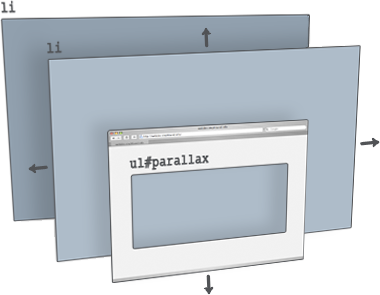
jParallax turns a selected element into a 'window', or viewport, and all its children into absolutely positioned layers that can be seen through the viewport. These layers move in response to the mouse, and, depending on their dimensions (and options for layer initialisation), they move by different amounts, in a parallaxy kind of way.
The diagram on the right illustrates what Parallax does to the html:
<ul id="parallax">
  <li></li>
  <li></li>
</ul>
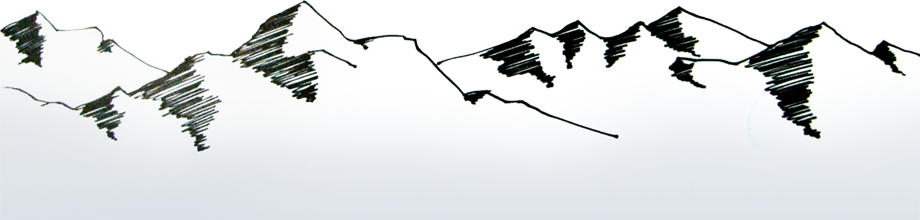
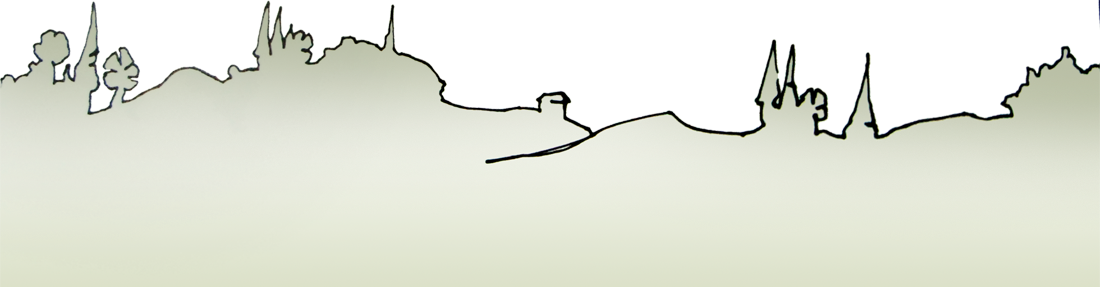
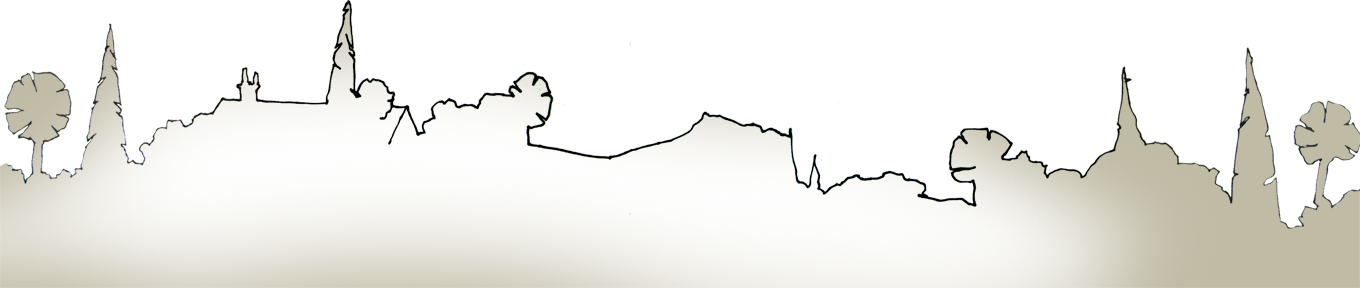
Here's a demonstration with some images:


But that's not all that jParallax does. If the layers are made of <div>s or <li>s or any other container then content can be positioned inside those layers, and Parallax provides methods for navigating to that content in response to user events.
Demos
- webdev.stephband.info/parallax_demos.html
- webdev.stephband.info/parallax_demos_stalkbuttons.html - demonstrates multiple parallaxed elements per page.
- webdev.stephband.info/parallax_demos_stalkremote.html - shows parallax by 'remote control'.
- webdev.stephband.info/parallax_demos_type.html - shows how content inside layers can be linked to.
- webdev.stephband.info/parallax_demos_target.html - demonstrates window resizing.
Using jParallax
The default behaviour of jParallax is to show the whole width of a layer in response to the mouse travelling the whole width of the parallax 'window'. When the mouse is moved to the extreme left-hand side of the parallaxed window the left-hand side of the layer meets it, and when the mouse is moved to the extreme right-hand side of the parallaxed window the right-hand side of the layer arrives at the right hand-side of the window.
The simplest way to use jParallax is to make the layers different sizes using CSS. Bigger layers move faster and thus appear closer, and unless a layer is smaller than the viewport, its edges are never seen. The Colour Drops Demo was made in exactly this way, with jParallax in its default state, and the 'speed' of the layers controlled simply by making the images different sizes. No options have been passed in.
However, we all want tweaky-tweaky. I also give you tweaky-tweaky...
Instantiation
jQuery('#parallax').jparallax(options, layer_options);
Clearly the parallaxed element(s) can be selected any way you like. For the sake of simplicity for the rest of this guide I refer to the parallaxed element as '#parallax'.
CSS
In most cases, you should set the following CSS on the parallaxed element:
#parallax
    {position:relative; overflow:hidden; width:npx; height:npx;}
Children of a parallaxed element become layers, and are automatically given position:absolute; in order to start moving them around, but the parallaxed element itself needs position:relative; or position:absolute; or the layers will move relative to the document rather than the viewport. overflow:hidden;
stops layers displaying outside of the bounds of the viewport, and
width and height should be set to prevent the viewport collapsing.
In
addition, jParallax needs to know how big layers are, and if there is
anchored content inside a layer it needs to know where and how big it
is. It uses jQuery's height(), width() and offset()
methods to find out. However, if you experience trouble with the range
of motion of a layer you should consider setting all dimensions
(height, width, top and left) explicitly via CSS to make life easy for
those methods.
Options default values
The following options can be passed to jParallax to set the behaviour of the mouse, default behaviour of the layers, animation settings and so on:
Layer Options default values
In addition to the options above, Layer Options can be passed to each layer individually, as extra arguments:
jQuery('element').jparallax(options, layer_0_options, layer_1_options, etc.);
As an example, to give the second layer a set xtravel value, but pass no options as default:
jQuery('element').jparallax({}, {}, {xtravel: '200px'});
A layer option object can have the following parameters:
Tips
Extra graphics
If you want to add elements to #parallax, such as overlaying curved corner images like in the above example, add them after you have instantiated jParallax in order to avoid having those elements included in the calculations.
Transparent image layers
Use jQuery iFixPng plugin, to make see-through .png images work on IE6.
Sites using jParallax
- www.foldifoldi.com
- htmlexpress.de
- ploreex flickr visualiser
- vektordesign.com
- dezignus.com
- Communizine Wordpress theme
- stephband.info, complete parallax overkill
- housamz.com
Let me know if you have a site that uses jParallax using the 'Write to me' form at the top of this page.
Version history
0.9.9
Basically version 1.0, but until I've fully tested it, it's staying 1% away.
- Code majorly refactored. It's much more j now, and a little smaller. The anim clock changed, the code got re-shuffled to make it more compact, to re-use more routines and make more use of jQuery goodness. The biggest internal change is that it now uses vector arrays instead of property objects to store data.
- Implemented events for internal control of calculation and animation, and external control of goodies like "freeze" and "link".
- Options added: cssLayers and cssViewport, for 'embedding' styles in the jParallax declaration, should you want to.
- triggerResponse is now linkResponse
- Some previously undocumented options now documented. But not all. Oh no.
0.9.1
- Fixed bug when specifying travel by %.
- Travel px or % detection has more robust Regex.
0.9
- Code optimisation.
0.8.1
- Tested in Safari, Firefox 3, IE6, IE7, Google Chrome (Beta) and Opera 9.5. IE6 has trouble handling multiple jParallax instances when they are declared on one jQuery selector. Other than that, all present and correct. Declare your doctypes!
- Bug fixed in matrixSearch.
0.8
- Gracefully handles window resize.
- Begins to shoot for proper IE support.
- Positioning algorithm re-written. In fact, it can barely be called an algorithm any longer, as the positioning now relies almost solely on CSS. Whereas previously it was defined absolutely in pixels, positioning is now defined by percentage combined with variable (negative) margins, forcing the browser CSS engine to take more responsibility for re-positioning. This means that window resizing is smooth, and the Javascript has less calculating to do. However, it may be more of a CPU hog this way. Some testing will be done.
- Due to the above changes, some Options and Layer Options now mean something slightly different to their original definitions. For example, xtravel is now a ratio by default rather than a pixel definition.
- Made a minor change to the way dimensions are registered - they now use the jQuery methods width(), height() and offset(), so they should no longer need to be explicitly set via CSS (although it wouldn't hurt, if you want to be sure). This also applies to layer contents.
- Added Target Demo to demonstrate window resizing and Trigger Response, and updated arse demo to jParallax.
- Some code optimising to make it faster, but there's more that can be done in this department.
- Docs updated.
0.7 (Not released)
- Unreleased. Broken.
0.6
- Trigger response added.
- New demos added. Remote control and a crude trigger demo.
- Options simplified. They were getting a bit out of hand. Default options are now all attributes of one object, rather than nested objects as previously. (Layer Options still work the same way, one object per layer).
- Docs updated.
0.5
- Soft Takeover animation timer and mouseport detection rewritten to get rid of jerky re-entry bugs. Life is now smoother and creamier.
0.4
- Based on an idea I read somewhere on the web or possibly in the book jQuery In Action, jParallax now saves CPU by moving the layers at a maximum frameRate and not on every change of mouse co-ordinates.
- Soft Takeover animates layers to position over time on mouseport re-entry. It's a little dodgy.
0.3
- Implemented a crude Soft Takeover. It doesn't animate to position over time, just over mouse move, but it does make the mouseport entry a bit smoother.
0.2
- Fixed xtravel, ytravel and mouseport initialisation.
- Added Stalk Button demo.
0.1
- Initial port from proof of concept code. My first jQuery plugin!
- Colour drop demo.